Lab Power Supply using an ATX Power Supply
Back when I started tinkering with electronics, all my projects and tests were battery-powered, and for some time time I thought that this was enough for me. But as time went on and I started learning about Operational Amplifiers, I quickly realized that you need positive and negative voltage to power them, this was the moment I realized I needed a Lab-grade PSU. But those were too expensive for a 14-year-old, so I quickly hooped into YouTube and saw a great video on how to create your own Lab PSU.
Although the video was great, I wanted to build a PSU without having to work on 220V lines. So I decided to use an ATX power supply from an old computer to build a similar PSU with the addition of more constant output voltages.
Features
- Constant high-power +3.3V, +5V and +12V outputs.
- Constant -12V output, great for powering Operational Amplifiers.
- One variable output, from 0.6 to 30V, also featuring Contant Current.
Maybe for an bachelors in electronic engineering this may not seem as much. But I end up experimenting with this PSU for over three years, only after I bought a proper lab PSU.
Materials
- ATX Power Supply. It can be old or new, but should have a maximum power of 500W.
- Buck-Boost DC-DC Converter with constant current mode.
- Voltage/Current Display.
- Green LED.
- Red LED.
- 6 Banana Mounting Post.
- 3 DPDT Switches.
- 2 Potentiometers, same value as the ones on the DC-DC Converter.
Construction
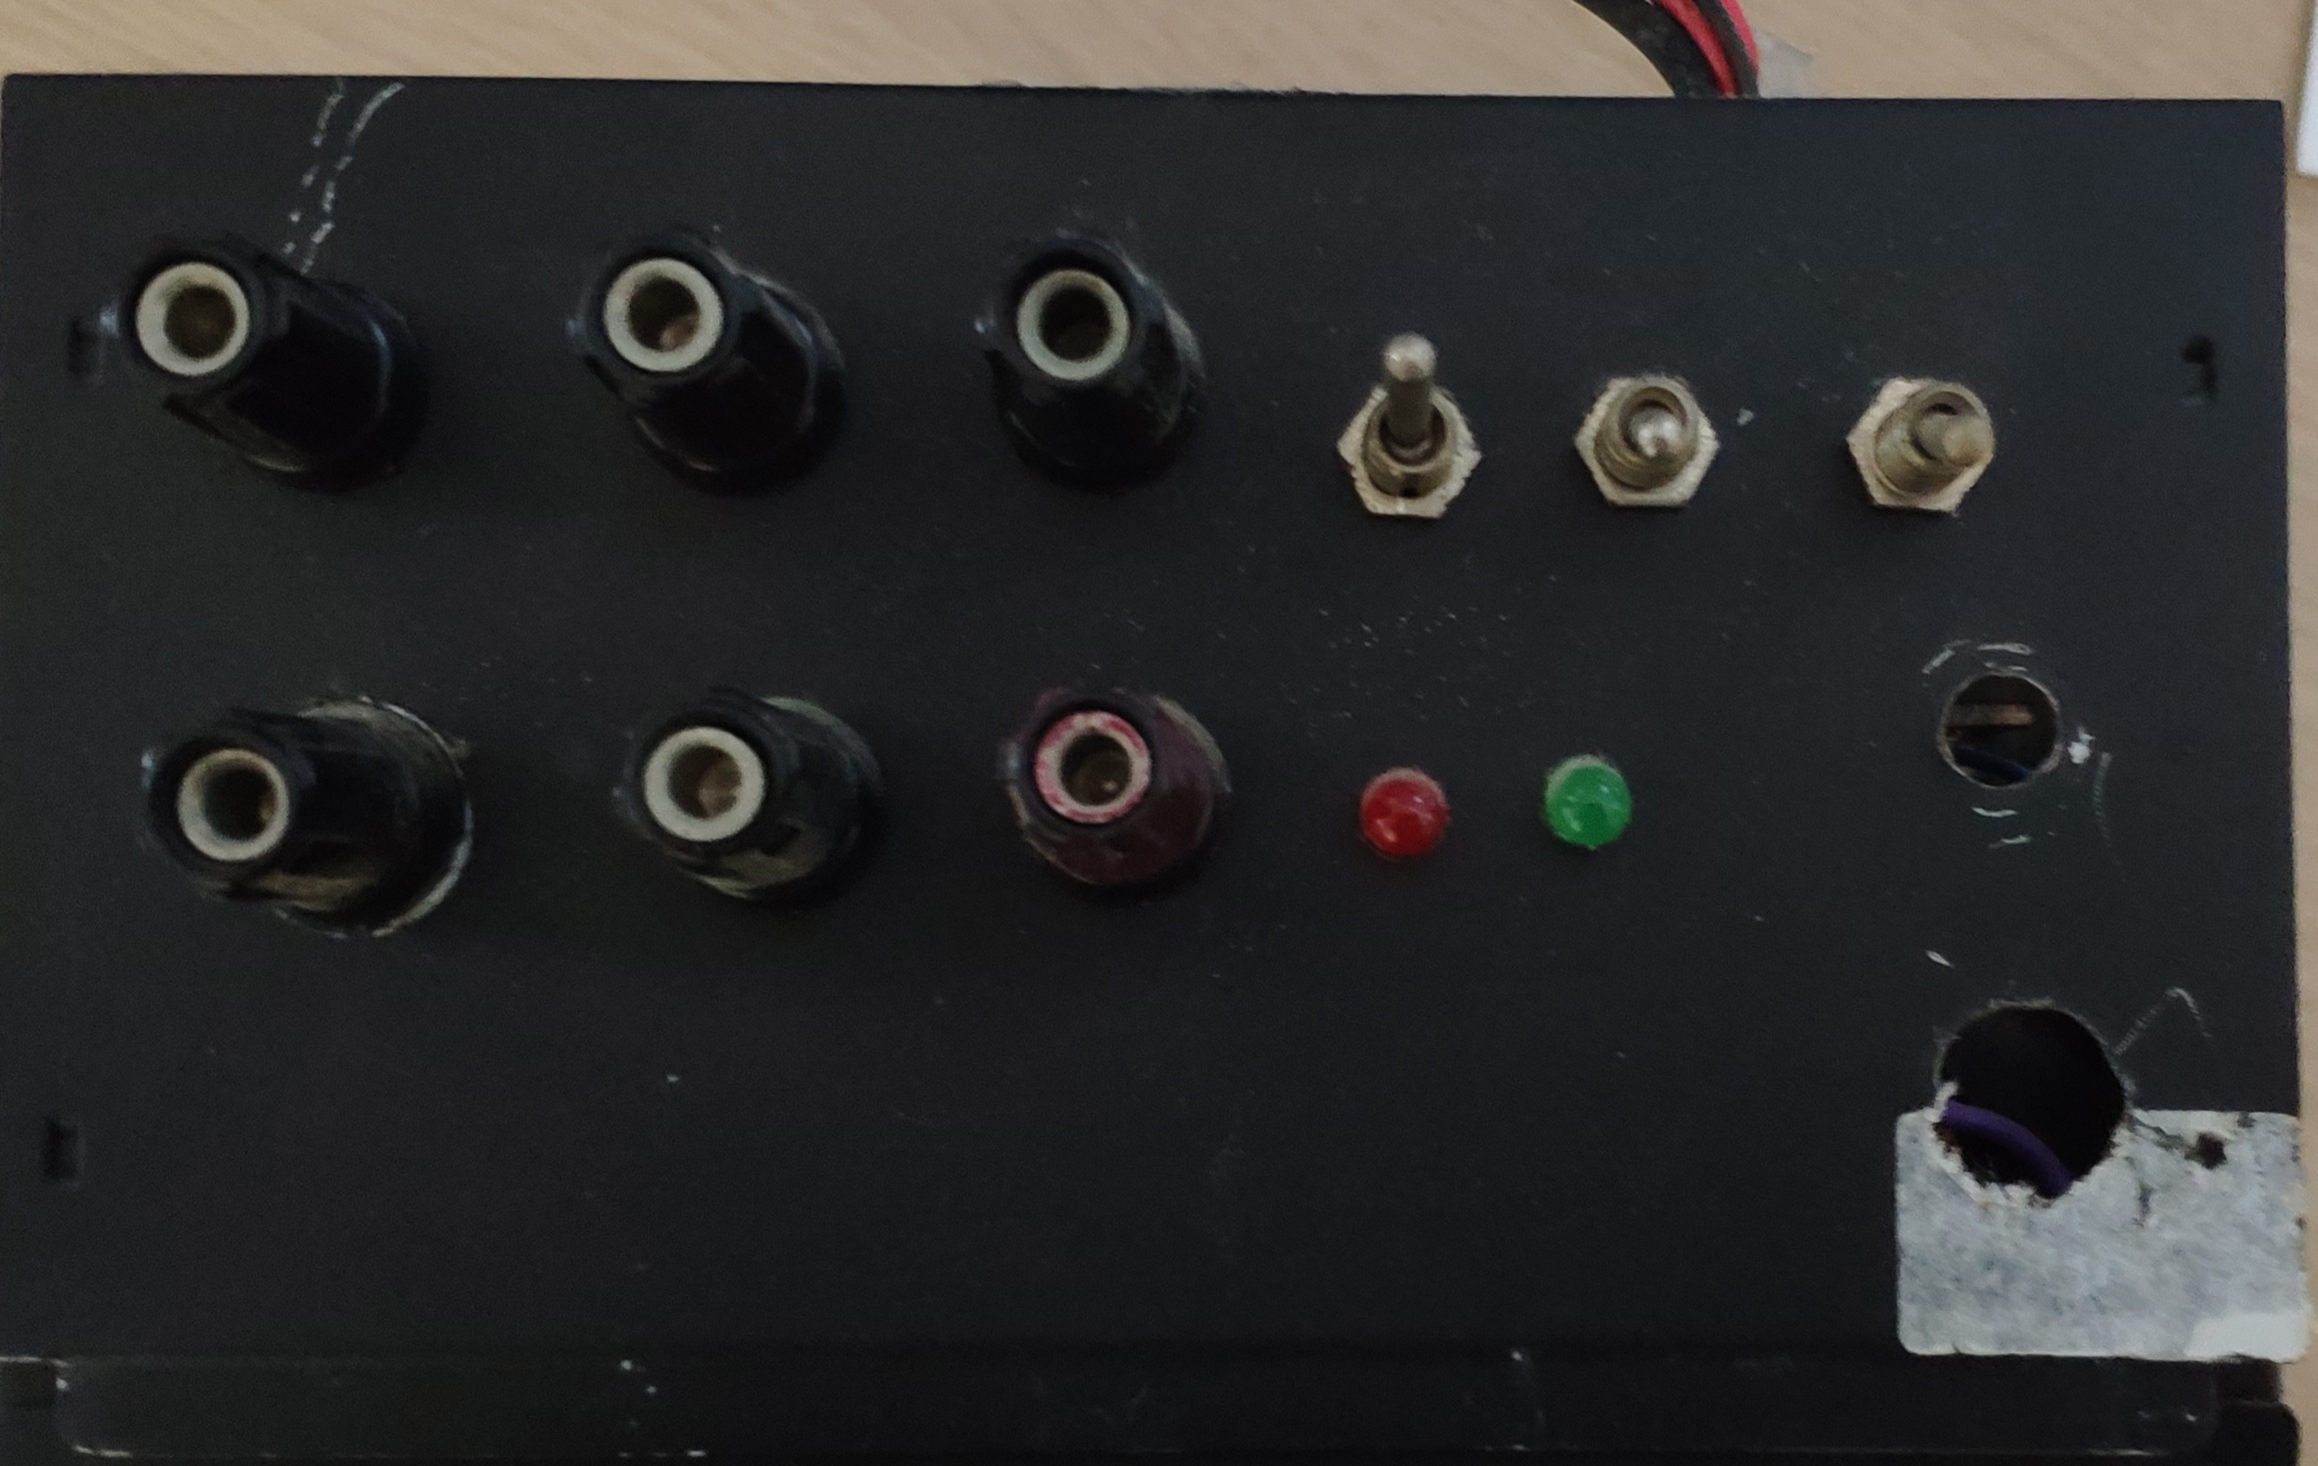
- Drill Holes in the front panel of the ATX Power Supply and mount the corresponding pieces as shown in the photo.
- Cut all the wires from the 24-Pin ATX Connector and from any other connectors.